Surgical Implant Guide Overview
Implant surgical guides are custom‑made templates, often acrylic or 3D‑printed, that fit over adjacent teeth or gums․ They direct drilling and placement, ensuring accurate bone engagement and reducing surgical risk․
The guide converts digital plans into a precise, patient‑safe template․
Definition and Purpose of Surgical Implants
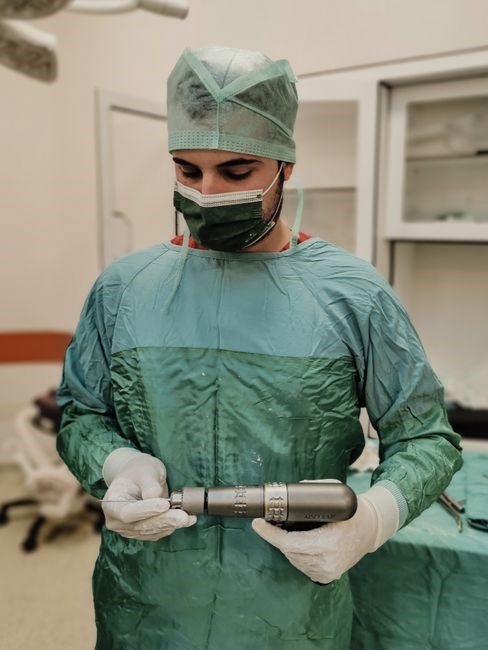
Definition: A surgical implant is a biocompatible, inert device—commonly titanium alloy or high‑strength ceramic—inserted into the jawbone to replace a missing tooth root․ It establishes a permanent, biologically integrated foundation that supports a prosthetic restoration such as a crown, bridge, or denture․ The implant body is engineered to promote osseointegration, a process where living bone cells attach directly to the implant surface, creating a stable, long‑term bond․
Purpose: The primary goal of a surgical implant is to restore masticatory function and oral health․ By anchoring a prosthesis firmly to bone, implants prevent the loss of alveolar bone after extraction, preserving jaw contour and soft tissues․ They also maintain adjacent tooth position, reducing crowding or shifting․ Functionally, implants transmit chewing forces through bone, allowing patients to bite and speak with confidence․ Aesthetically, they provide a natural appearance, as the prosthetic component can match surrounding teeth in color, shape, and translucency․ Additionally, implants offer a predictable, low‑maintenance option that can last for decades with proper hygiene and periodic evaluation․
In the context of implant dentistry, the surgical implant serves as the cornerstone of the restorative plan․ Its placement must consider bone quantity and quality, anatomical landmarks, and prosthetic requirements․ Successful integration hinges on accurate surgical technique, appropriate implant design, and the patient’s biological response․ When these factors align, the implant delivers durable support, functional efficiency, and improved quality of life for the patient․ Moreover, the implant’s surface topography enhances early bone bonding, accelerating healing․ This synergy results in outcomes!
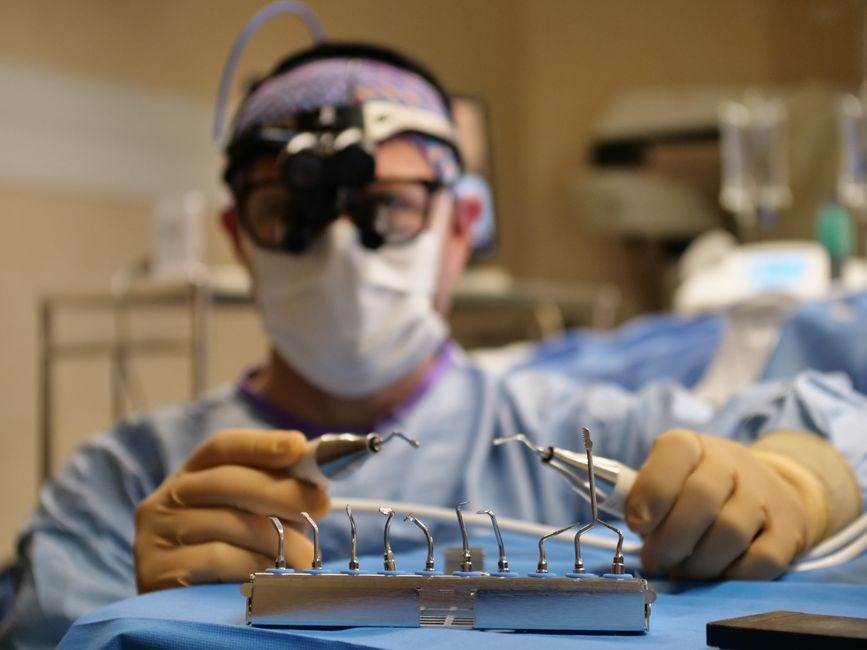
Longitudinal studies show that well‑placed implants have survival rates above 95% over ten years, with minimal peri‑implant bone loss when maintained with regular hygiene and periodic care․ Patients benefit from single‑visit restorations, reducing treatment time and cost․
Patient selection criteria include adequate bone density, absence of uncontrolled systemic disease, and compliance with postoperative instructions, ensuring the implant’s success and longevity․
Materials Used in Guide Fabrication
Custom surgical guides are fabricated from biocompatible materials chosen for mechanical, sterilization, and imaging properties․ Conventional acrylic resin, polymethyl methacrylate (PMMA), has been the gold standard for years because of its ease of manipulation, rigidity for drilling, and low cost․ PMMA offers a smooth surface that can be polished, and it can be sterilized by autoclave or gamma irradiation without significant degradation․ However, acrylic’s limited dimensional stability can cause minor warping over time, especially in high‑temperature sterilization․
Modern digital workflows favor 3D‑printed polymers like polyether‑ether‑ketone (PEEK) and polyamide (nylon)․ PEEK offers mechanical strength, a modulus similar to cortical bone, and hydrolysis resistance, making it suitable for use․ Its radiolucency allows clear imaging․ Polyamide, slightly less stiff, provides superior print resolution and lower cost․ Both can be sterilized by ethylene oxide or low‑temperature plasma, preserving integrity․
High‑precision guides use titanium alloys (Ti‑6Al‑4V)․ Titanium offers strength, biocompatibility, and radiopacity, enabling accurate drill guidance․ Fabricated by selective laser melting (SLM) or electron beam melting (EBM), they allow complex geometries that reduce support structures․ Polishing yields a smooth inner surface during drilling․
Hybrid designs combine a rigid base (PEEK or titanium) with a removable acrylic layer, merging each material’s benefits․ The acrylic offers a fit and easy cleaning; the base ensures dimensional stability during surgery․ This is useful when the guide is reused across procedures․
All materials undergo rigorous quality control—dimensional accuracy, biocompatibility, and sterilization validation․ Material choice depends on clinical needs: implant count, bone density, and surgical forces․ The selected material must balance mechanical performance, cost to achieve reliable outcomes․
Digital Planning Workflow
Digital planning starts with a CBCT scan that maps bone and an intra‑oral scan of teeth․ The two datasets merge in implant‑planning software, creating a unified virtual model․
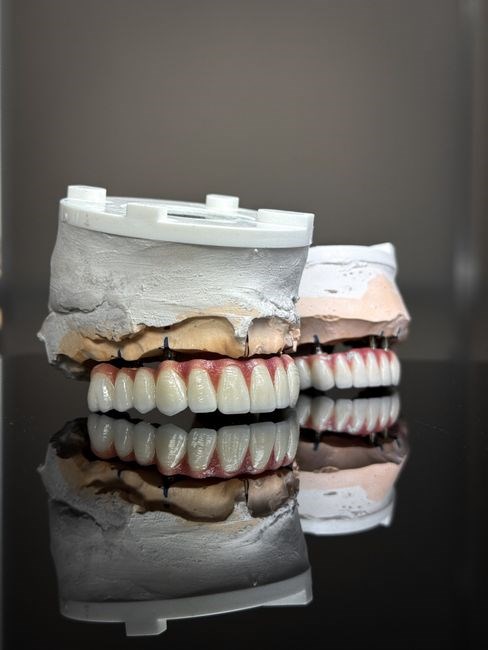
In the software, the clinician selects implant positions, angulation, depth, and diameter, ensuring primary stability and avoiding nerves or sinuses․ The plan is reviewed by prosthodontist, surgeon, and lab technician․
After finalizing the virtual plan, the guide design module creates a 3D model with drill sleeves and a stable base․ Parameters like sleeve diameter and wall thickness match the chosen drills․
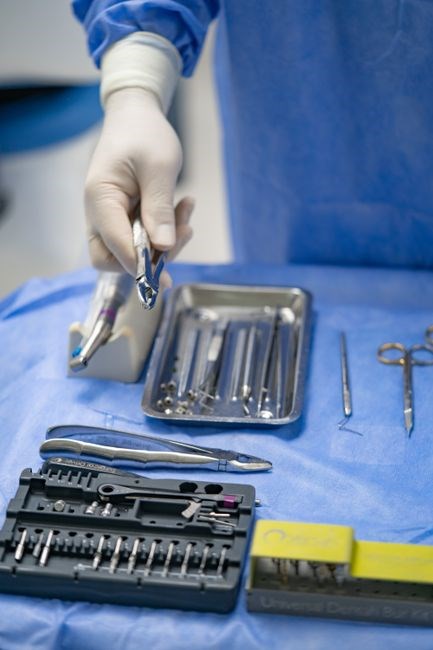
The STL guide is exported, printed, and sterilized․ Quality checks confirm dimensional accuracy against the virtual plan․
Iterative feedback loops allow adjustments․ If the plan shows insufficient bone, the clinician can re‑plan and regenerate the guide, ensuring precise surgical action․
The software also simulates implant angulation adjacent teeth, allowing verification of prosthetic emergence before finalizing․
The plan is exported as a 3D model, which the lab technician uses to fabricate the guide, ensuring integration of all inputs․
The guide’s sleeves match the drill diameter, and the base locks into the dentition for stability during surgery․
The printed guide undergoes a dimensional check against the virtual design, and deviations are corrected before sterilization․
After surgery, the guide’s accuracy is verified by postoperative imaging, confirming implant placement matches the planned coordinates․
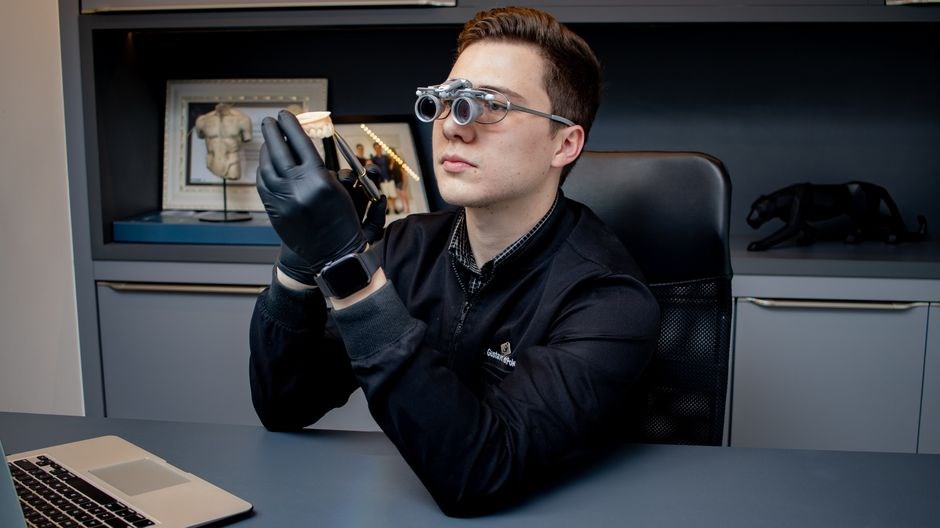
Dental implant guides are produced in two main forms: conventional acrylic resin and modern 3D‑printed polymers․ Acrylic guides are hand‑molded or laser‑cut over a master model, offering low cost and rapid fabrication․ They are inexpensive, readily available, and suitable for short‑term cases, but their dimensional stability can be compromised by heat and repeated sterilization․ This precision is critical for complex cases․ It matters․
Types of Surgical Guides (Acrylic, 3D Printed)
In contrast, 3D‑printed guides are fabricated from biocompatible resins or nylon and printed layer‑by‑layer, yielding a fit․ They can incorporate multiple drill sleeves and integrated retention features that are difficult to achieve with acrylic․ Printing process allows customization of sleeve diameter and wall thickness, enhancing surgical control․
Role of Prosthodontist in Guide Design
Both guide types require a sterilization protocol before use․ Acrylic guides are autoclaved, while 3D‑printed guides may require gamma or ethylene oxide sterilization on resin heator the tolerance․ Clinicians often choose acrylic for cost‑effective, low‑volume procedures, while 3D‑printed guides are preferred for complex anatomies and multiple implant sites․
Role of Oral Surgeon in Guide Use
The decision between acrylic and 3D‑printed guides hinges on case complexity, required accuracy, budget constraints, and the available laboratory workflow․ Understanding the strengths and limitations of each material enables clinicians to tailor guide selection to the specific surgical scenario for clinical scenario․
The prosthodontist initiates the digital workflow by acquiring high‑resolution CBCT scans and intraoral or laboratory impressions, then merges datasets to create a 3D model of bone and soft tissue․ They define implant positions, angulations, and prosthetic emergence profiles to ensure optimal occlusion, aesthetics, and load distribution․ Using specialized software, the prosthodontist places virtual implants, selects appropriate prosthetic components, and generates a surgical guide that incorporates drill sleeves, retention features, and a provisional restoration path․ They collaborate closely with the oral surgeon to confirm that the guide’s sleeve diameters match the surgeon’s drill set and that the guide’s fit will accommodate the patient’s mouth opening and anatomical constraints․ The prosthodontist also evaluates the guide for potential interferences, verifies that the planned implant positions avoid critical structures, and adjusts the design to maximize primary stability․ After approving the guide, they provide detailed instructions to the lab technician, including material choice (acrylic vs․ 3D‑printed resin), sterilization method, and any custom features such as a splint or a retention hook․ Throughout the process, the prosthodontist ensures that the guide aligns with the final prosthetic outcome, thereby reducing the risk of implant misplacement and facilitating a predictable, harmonious restoration Provisional restoration now!!․
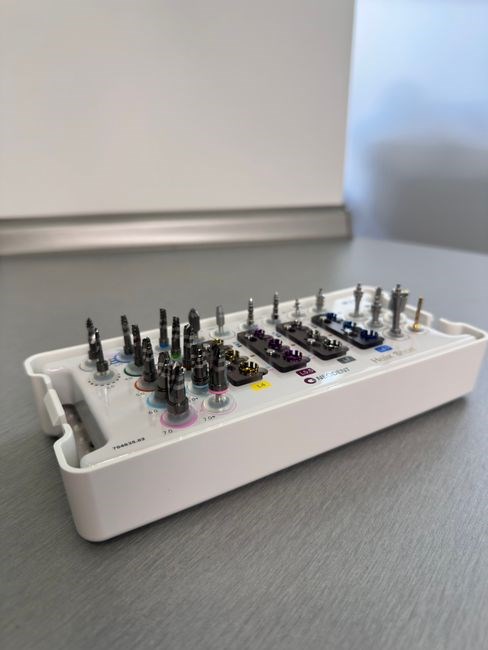
The oral surgeon’s primary responsibility is to translate the prosthodontist’s virtual plan into a clinical reality using the fabricated guide․ Before surgery, the surgeon reviews the guide’s design, confirming that drill sleeve diameters match the selected drill set and that the guide’s retention features will remain stable during the procedure․ They perform a dry run on a replica or the guide itself to verify fit and identify any potential interferences with the patient’s soft tissues or adjacent teeth․ During the operation, the surgeon places the guide onto the prepared mucosa or teeth, securing it with the specified retainer or suction system․ They then use the guide’s sleeves to direct the pilot drill, ensuring that the trajectory, depth, and angulation precisely match the digital plan․ The surgeon monitors bone density and resistance, adjusting drilling speed and irrigation as needed to prevent overheating or bone loss․ After implant placement, the surgeon removes the guide, checks the implant position with a probe or intraoperative imaging, and verifies that the implant is within the planned limits․ They also assess the guide’s fit for any future prosthetic steps, ensuring that the provisional restoration path remains unobstructed․ Throughout the procedure, the surgeon remains vigilant for complications such as guide slippage, drill misalignment, or unexpected bone density variations, and has contingency plans (e․g․, manual placement or alternative guide) to mitigate risks․ Finally, the surgeon documents the outcome, noting any deviations from the plan and providing feedback to the prosthodontist and lab technician for continuous improvement․ The surgeon collaborates with assistant manage instruments, keeping guide stable tight ․
Role of Lab Technician in Guide Production
Lab technicians are the bridge between digital design and the physical guide that the surgeon will use․ They begin by receiving the finalized implant plan from the prosthodontist, which includes STL files, drill sleeve positions, and any custom retention features․ Using high‑resolution 3D printers (SLA or DLP) or CNC milling machines, technicians fabricate the guide from biocompatible resin or metal․ The process starts with a virtual fit check: the technician overlays the guide model onto the patient’s scanned anatomy to confirm that all sleeves align with bone landmarks and that the guide will seat flush against adjacent teeth or mucosa․ Adjustments are made in the CAD software, and a new STL is exported for printing․ During printing, technicians monitor layer adhesion, curing times, and support removal to avoid dimensional inaccuracies․ Once printed, the guide undergoes post‑processing: cleaning, UV curing, and removal of support material․ The technician then drills the guide’s sleeves to the exact diameters specified in the plan, using precision drill bits and a jig to maintain concentricity․ After sleeve drilling, the guide is sterilized, typically via autoclave, and packaged with a sterilization tag․ Throughout production, technicians document each step, noting any deviations or material issues, and communicate with the prosthodontist and surgeon to confirm that the guide meets clinical requirements․ Their meticulous attention to detail ensures that the guide will fit perfectly, guide the surgeon accurately, and ultimately improve implant success rates․
The final guide is then inspected under a microscope to verify accuracy before it is sent to the surgical team!!
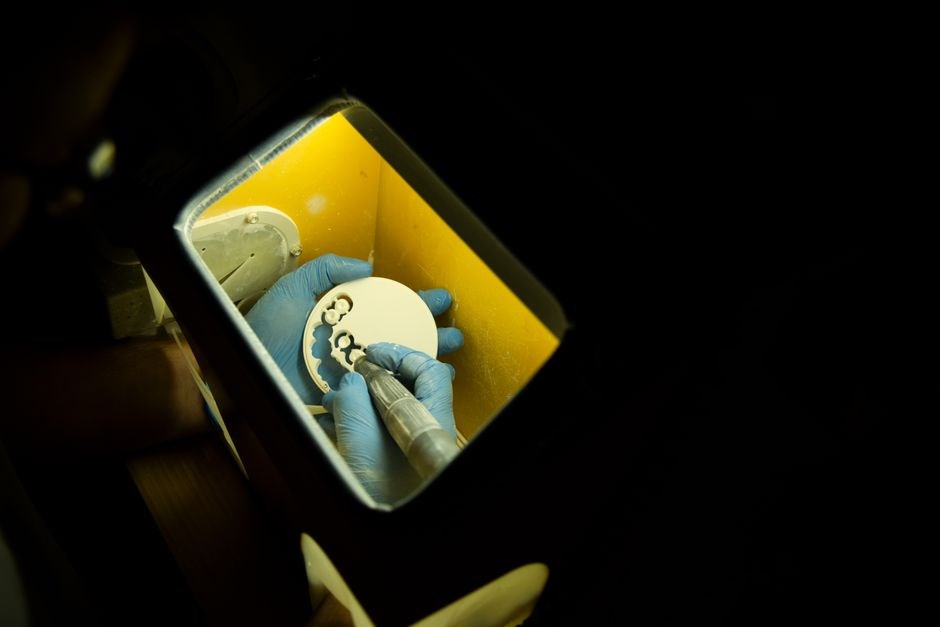
This meticulous workflow guarantees that the guide aligns with the patient’s anatomy, enabling precise implant placement and reducing surgery time․
Clinical Indications for Using a Surgical Guide
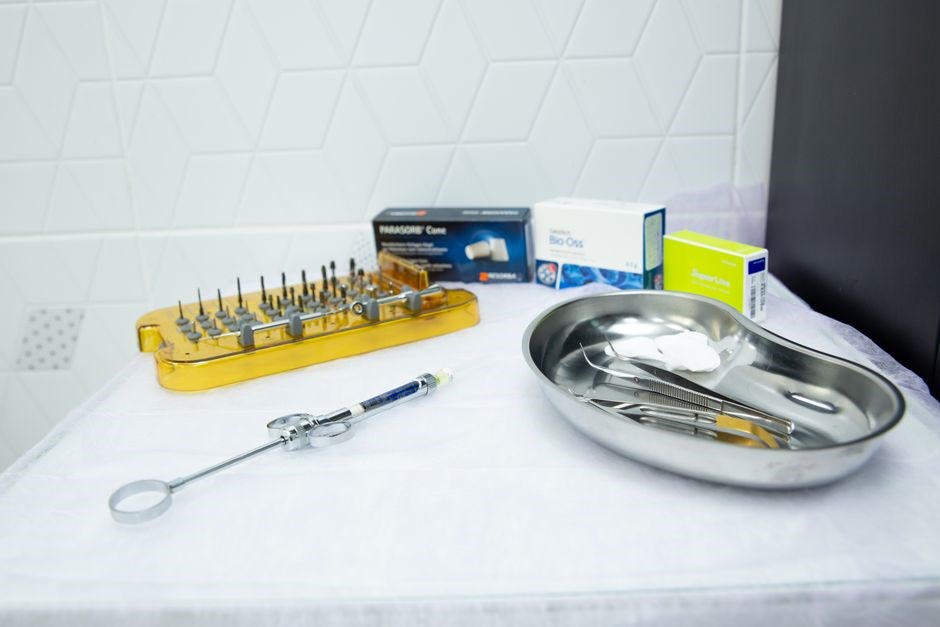
Guided implant surgery is indicated when precision and predictability are essential․ Complex implant arrangements—such as full‑arch rehabilitation, immediate placement in the esthetic zone, or multiple implants in close proximity—benefit from a template that locks the drill trajectory and eliminates freehand variability․ Cases with limited bone height or width, proximity to vital structures like the inferior alveolar nerve or maxillary sinus, or a history of failed freehand placement are also candidates for a guide․ Patients with significant anatomical variation, such as a narrow ridge, high palatal vault, or a steep mandibular slope, require the predictable angulation that a guide provides․ Additionally, when the surgical plan involves simultaneous bone grafting or sinus lift, a guide can coordinate implant placement with grafting windows, ensuring that the implant is positioned within the grafted area․ The use of a guide is also recommended for patients who have a low tolerance for surgical time or discomfort, as the template reduces intra‑operative adjustments and the overall duration of the procedure․ Finally, when the implant is placed in a location that demands strict adherence to a prosthetically driven orientation—such as cantilevered or angled implants—guides help ensure the final prosthesis will function properly and achieve optimal esthetic outcomes․ In all cases, a thorough assessment of the patient’s bone quality, soft tissue condition, and prosthetic goals determines whether a guided approach will provide a measurable advantage over freehand placement․ The guide also improves patient confidence by providing a tangible representation of the surgical plan, allowing clinicians to discuss implant positioning and prosthetic outcomes with clarity before the procedure․ Thanks․
Accuracy and Precision Achieved with Guides
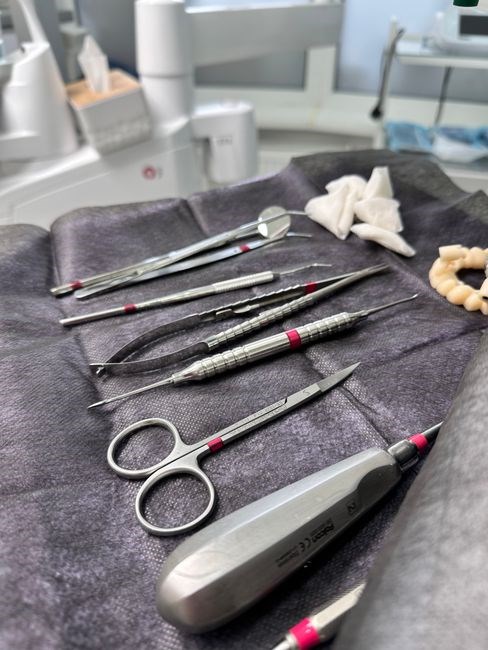
Guided implant surgery delivers superior accuracy compared with freehand techniques․ Studies report mean deviations of <1 mm at the implant platform and <2° in angulation when using guides․ The precision stems from the rigid interface between the guide and the patient’s dentition or bone, locking the drill path and eliminating hand‑held variability․ Digital planning software translates CBCT data and intraoral scans into a 3D model, allowing the surgeon to set exact implant coordinates․ The guide’s sleeves constrain the drill, ensuring the trajectory matches the planned path․ As a result, the implant is positioned within the planned bone volume, preserving critical structures such as the maxillary sinus floor or the inferior alveolar nerve․ Accuracy is further enhanced by high‑resolution 3D printing materials that maintain dimensional stability during fabrication․ In clinical trials, guided placement has reduced the need for intra‑operative adjustments and lowered implant misplacement․ The reproducibility of guided surgery also facilitates predictable prosthetic outcomes, as the implant orientation aligns with the planned prosthetic axis․ Overall, the combination of digital planning, precise guide fabrication, and controlled drilling yields a high level of accuracy and precision that supports complex implant scenarios and improves patient safety․ Clinical evidence shows that guided placement reduces postoperative complications by up to 30%, and patient satisfaction scores rise when the implant is placed precisely on the planned trajectory․ Moreover, patient‑specific guides facilitate immediate loading protocols, as the implant can be positioned with millimetric precision, allowing provisional prostheses to be fabricated on the same day today!
Potential Complications and Risk Management
Despite the high precision of guided implant surgery, several complications can arise․ Guide‑related issues include improper fit, leading to inaccurate drill paths, or material deformation that alters the sleeve geometry․ A poorly seated guide may shift during surgery, causing deviation from the planned trajectory․ Tooth or bone movement between the time of guide fabrication and the procedure can also compromise accuracy․ Infections can develop if the guide is contaminated or if the surgical site is not adequately sterilized․ Thermal injury to bone may occur if the drill is not cooled properly, especially when the guide restricts irrigation access․ Additionally, the guide’s sleeves can fracture under excessive torque, exposing the drill to uncontrolled motion․ To mitigate these risks, clinicians should verify the guide fit intraoperatively, using a pilot drill to confirm the correct path before proceeding․ Material selection is critical; high‑strength resins or metal guides provide better dimensional stability․ Sterilization protocols must follow manufacturer guidelines, and the guide should be inspected for cracks or wear․ Surgeons should monitor irrigation flow and use low‑speed drilling with adequate cooling․ Torque limits should be respected to avoid sleeve failure․ Pre‑operative CBCT and intraoral scans should be updated close to the surgery date to account for any anatomical changes․ Intraoperative imaging can confirm implant position before final placement․ By adhering to these protocols, the incidence of guide‑related complications can be reduced to less than 2% in experienced hands․
Furthermore, patient‑specific factors such as bone density, systemic conditions, and smoking status influence outcomes․ Low bone density may increase the risk of implant failure even with a guide, necessitating bone augmentation or the use of longer implants․ Systemic diseases like uncontrolled diabetes or osteoporosis can impair healing, requiring pre‑operative optimization․ Smoking reduces vascularity and can delay osseointegration, so patients should be advised to quit at least 4 weeks before surgery․ By integrating these patient‑related risk assessments into the planning phase, the guide can be adjusted to accommodate anatomical constraints, such as angulating the implant to avoid cortical perforation․ Post‑operative monitoring with periodic radiographs ensures early detection of complications such as peri‑implantitis or implant mobility․ Prompt intervention with debridement, antibiotics, or revision surgery preserves the implant and surrounding tissues․ A multidisciplinary approach, involving the prosthodontist, surgeon, and lab technician, ensures that the guide design anticipates potential complications and incorporates safety margins․ When these strategies are implemented, guided implant surgery offers a predictable, safe, and efficient alternative to conventional freehand techniques․
Postoperative Care and Follow-Up
After guided implant surgery, immediate postoperative instructions focus on pain control, infection prevention, and soft‑tissue protection․ Patients receive a prescription for a non‑steroidal anti‑inflammatory drug, and may be advised to use a non‑steroidal anti‑inflammatory drug, and may be advised to use a 0․12% chlorhexidine mouth rinse twice daily for 14 days․ A soft diet is recommended for the first 48 hours, gradually progressing to normal chewing as swelling subsides․ Ice packs applied to the buccal surface for 15–20 minutes every hour during the first 24 hours reduce edema and discomfort․
Follow‑up appointments are scheduled at 1 week, 2 weeks, and 6 weeks post‑surgery․ The 1‑week visit assesses wound healing, checks for signs of infection or dehiscence, and removes sutures if non‑absorbable material was used․ The 2‑week check confirms soft‑tissue integration and evaluates implant stability using a Periotest or manual probing․ At 6 weeks, a periapical radiograph or CBCT scan confirms osseointegration and bone remodeling around the fixture․
Long‑term follow‑up includes annual clinical exams and radiographs to monitor peri‑implant bone
Advantages Over Freehand Implant Placement
Guided implant surgery offers a predictable, reproducible workflow that minimizes human error․ By translating a 3D treatment plan into a physical template, the surgeon can drill at predetermined angles, depths, and positions, reducing the risk of cortical perforation or nerve injury․ The accuracy of implant placement is typically within 0․5 mm of the planned position, whereas freehand techniques can vary by 1–2 mm․ This precision translates into better prosthetic outcomes, as the implant axis aligns with the final restoration’s occlusal scheme․ Additionally, guided surgery shortens operative time; the drill path is pre‑defined, eliminating the need for intraoperative landmark identification and multiple pilot holes․ Patients experience less postoperative discomfort and swelling because the surgical trauma is confined to the planned sites․ The use of a guide also facilitates immediate loading protocols in selected cases, as the implant is positioned in the optimal biomechanical position from the outset․ Finally, the digital workflow allows for comprehensive documentation and auditability, supporting quality assurance and medico‑legal compliance․ Moreover, the guide’s material properties provide a stable platform that resists deformation, ensuring that the drill trajectory remains true throughout the procedure․ Surgeons can also customize the guide to accommodate anatomical variations such as sinus floor proximity or limited interarch space, which would be challenging with freehand techniques․ The integration of intraoperative navigation with the guide further enhances safety, allowing real‑time verification of drill position against the planned anatomy․ From a training perspective, residents and fellows can acquire technical skills more rapidly using guided cases, as the guide reduces the learning curve associated with complex implant placements․
Limitations and Contraindications
Despite the benefits of guided implant surgery, several constraints limit its universal application․ The accuracy of a guide depends on the quality of the digital scan, the fidelity of the virtual plan, and the precision of the guide fabrication process; any error in these stages propagates to the final implant position․ Fabrication time and cost can be prohibitive, especially for single‑tooth cases where the overhead may outweigh the benefits․ Guides are also less adaptable to intraoperative changes; unexpected bone density variations or anatomical surprises require immediate modification, which is difficult once seated․ In patients with extensive edentulism, insufficient tooth or bone support can compromise guide stability, leading to misplacement․ Certain anatomical conditions—such as a narrow interarch space, severe bone resorption, or proximity to vital structures—may preclude the use of a conventional guide, necessitating freehand or alternative navigation techniques․ Additionally, the rigid guide material transmits excessive quite forces to surrounding tissues, causing discomfort or soft‑tissue injury if not properly seated․ Contraindications include uncontrolled systemic disease, active infection at the surgical site, or inadequate bone volume that cannot be safely augmented within the guide’s constraints․ Finally, patient compliance is essential; movement during surgery can dislodge the guide, compromising accuracy․ These limitations underscore the need for careful case selection and multidisciplinary planning before opting for guided implant placement․
Cost Considerations and Reimbursement
Guided implant surgery introduces additional material and labor costs that must be weighed against clinical benefits․ The initial expense includes a high‑resolution intraoral or CBCT scan, digital planning software licensing, and the manufacturing of a patient‑specific guide—often 3D‑printed or milled acrylic․ Depending on the complexity of the case, guide fabrication can range from $300 to $800 per implant․ These costs are typically higher than conventional freehand procedures, which rely on basic surgical instruments and generic templates․ However, the precision afforded by a guide can reduce operative time, lower the risk of bone loss, and decrease the likelihood of revision surgeries, potentially offsetting upfront expenditures․ From a reimbursement standpoint, many dental insurance plans categorize guided surgery as an advanced technology, allowing for higher fee schedules․ In the United States, the Current Dental Terminology (CDT) code D6010—“Implant surgical guide”—provides a standard billing reference, with reimbursement rates varying by payer and region․ Some insurers require prior authorization, and the guide may be bundled with implant placement codes (D6010, D6011)․ Internationally, reimbursement policies differ; for instance, in Canada, provincial plans may cover guided surgery only for medically complex patients, while in Europe, national health services often reimburse guided procedures as part of a bundled implant package․ Dental practices must maintain detailed documentation of the digital workflow, including scan files and surgical plans, to substantiate the use of a guide for audit and billing purposes․ Additionally, the cost of training staff to operate planning software and manage guide fabrication can be significant, yet it enhances overall practice efficiency․ Ultimately, a cost‑benefit analysis that incorporates clinical outcomes, patient satisfaction, and payer policies is essential when deciding to adopt surgical guides․